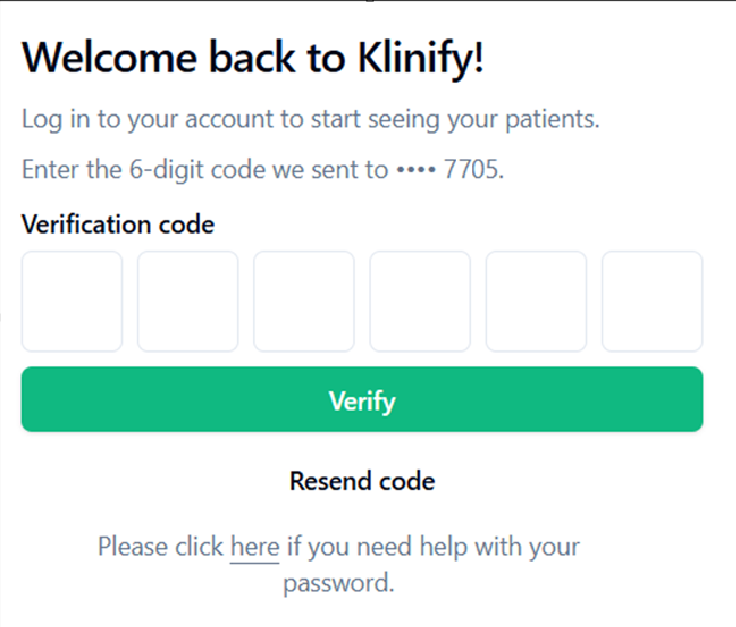
Overview
Multi‑Factor Authentication (MFA) adds an extra layer of security to clinic accounts by requiring both a password and a one‑time verification code (OTP). This article explains how to configure MFA at the clinic level and for individual user profiles.
Prerequisites
Admin access is required to configure MFA settings.
Ensure you have a valid mobile number to receive SMS OTP codes.
Activating Multi-Factor Authentication (MFA)
Navigate to Settings > Clinic Settings > Multi‑Factor Authentication. This is the master setting; it will overwrite any individual user account settings.

Make the required changes.
Click Save Settings.
Setting Up MFA for User Profiles
Log in with admin permissions.
Go to User Management.
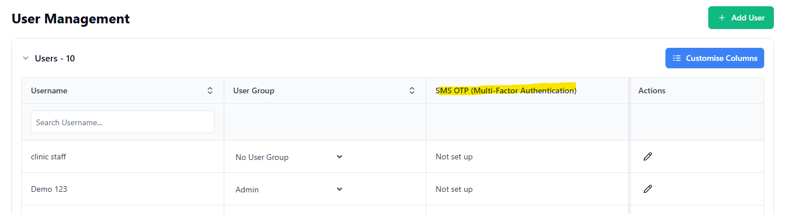
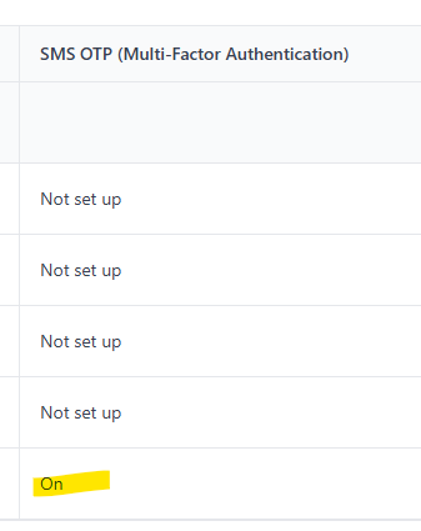
Locate the SMS OTP (Multi‑Factor Authentication) column.
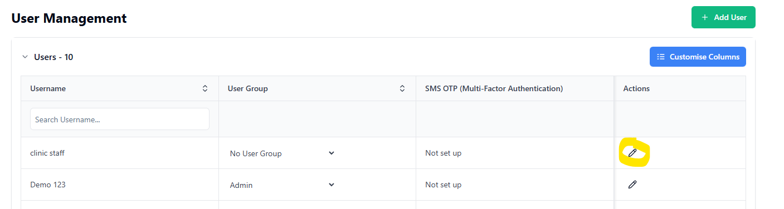
Click the Pen icon under the Actions column.
You will see options to create a new password and enable SMS OTP.
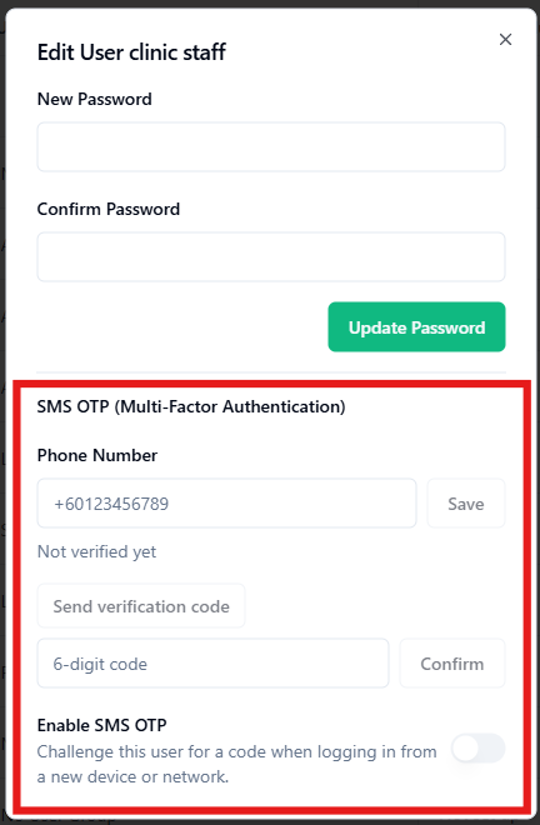
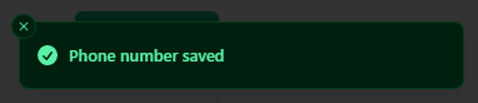
Enter the mobile number to receive OTP SMS and click Save.
A confirmation message will appear at the top‑right corner.
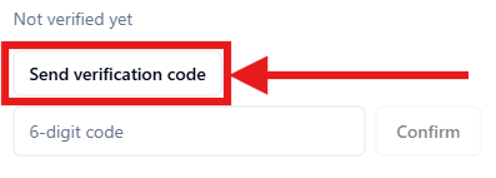
Click Send Verification Code.
A confirmation message (“Verification code sent”) will appear at the top‑right corner.

Enter the OTP received via SMS and click Confirm.
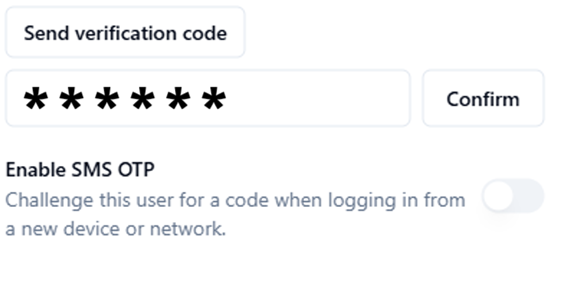
Once completed, the phone number will be verified.

Enable SMS OTP for the user profile.
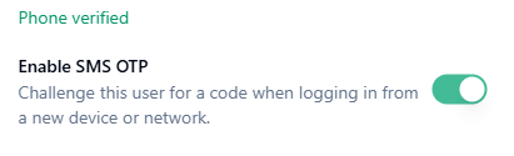
The profile status will update to On.
From now on, when logging in from a different system or network, the user will be prompted to validate via OTP. Note: OTP validation is required every 90 days.